
No Sew Hip Bag
- Katie

- Nov 19, 2017
- 3 min read
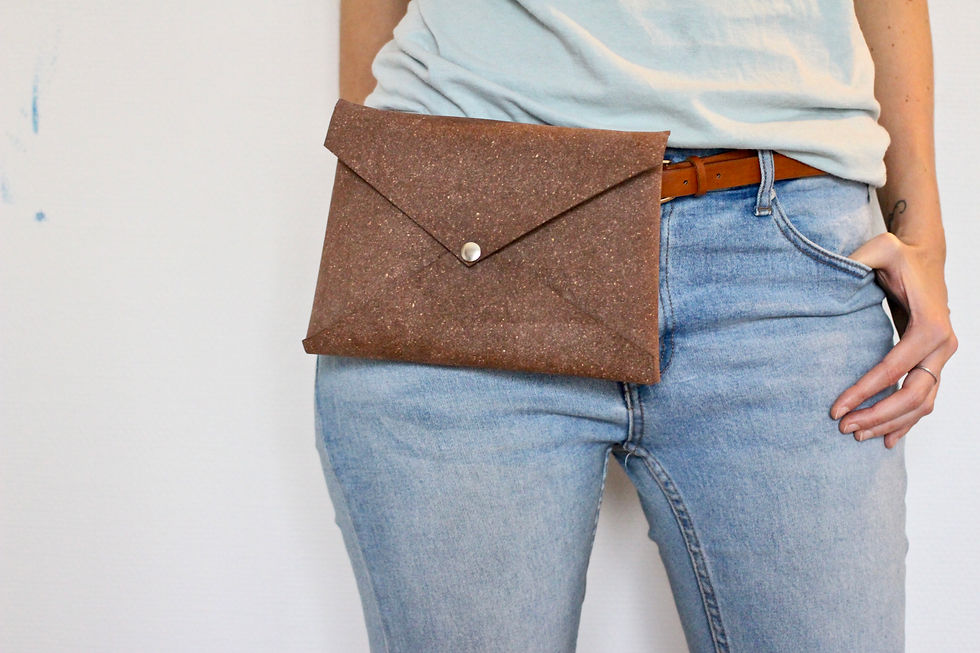
Hip bags (or fanny packs for you old schoolers) are super practical yet most people refuse to use them becuase of their embarassing look. I have managed to design one that looks better than the usual style and its fairly easy to make. I also managed to find sustainable fabric to use when making them. Below is everything you need to make one of your own.
What you will need for a 9.5"x6.5" (24cm x 16,5cm) bag:
-Fabric
-Ruler
-Fabric cutter and cutting mat (or scissors)
-Snaps & snap fastener
More Information on fabric: In this example I used Snaplys Releda which is recycled leather pieces. (Use Chrome so you can auto-translate the site since its in German.) Another great material option is washed kraft paper. Its easier to work with compared to Releda. You can buy some from Amazon in brown, black, stone, and white (which can be dyed and printed).
More Information on snaps: If using a thick fabric like Releda you need snaps that have a taller core which is harder to find so again, using washed kraft paper is easier for everyday snaps.
If you think you will use snaps again then I suggest a bulk pack with a manual toolkit because it is the most flexible. This is a great one with a great price. If you are trying snaps for the first time and want an easier kit then i suggest one with a snap fastener tool like this.
Directions:
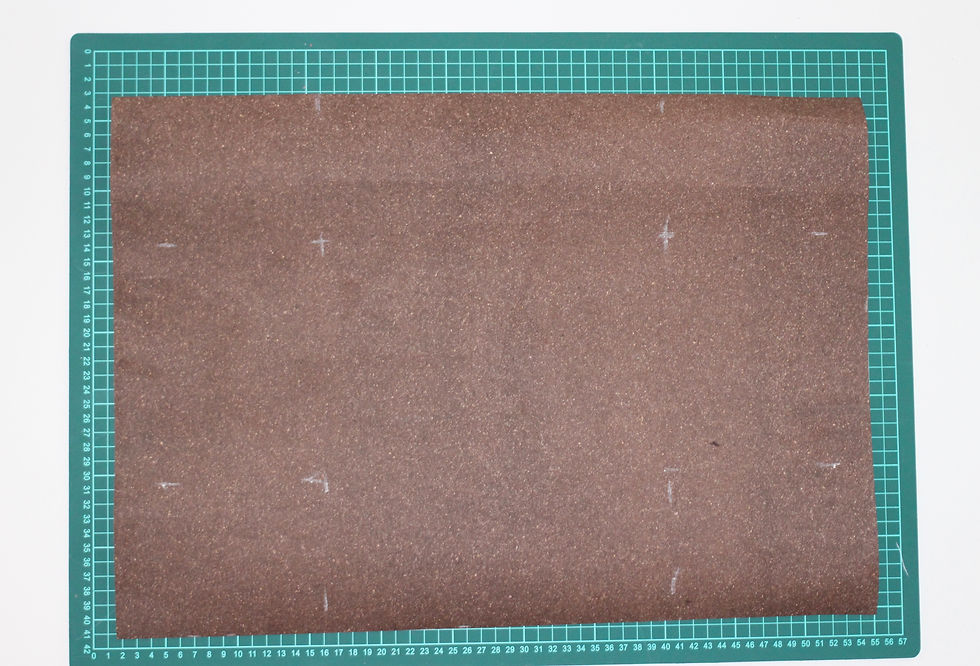
1. Cut a rectangle 21"x15" (53cm x 38cm).

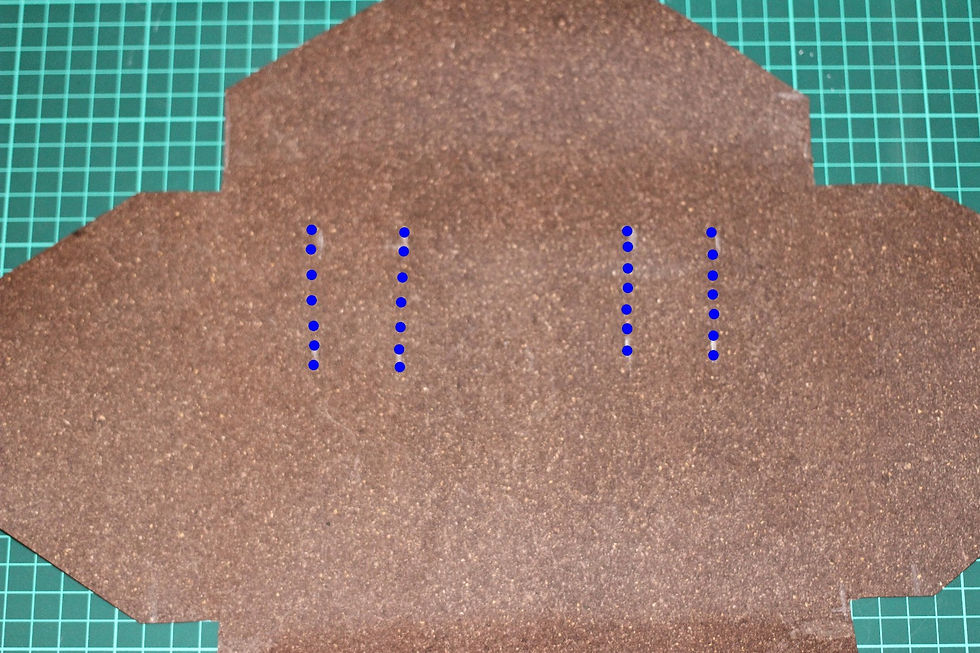
2. Cut a plus sign from the square. Measure and mark 5.75" from the corner inward on the longer sides. Measure and mark 4.25" from the corner inward on the shorter sides. Make sure to mark in 4 locations on each side to make it easier to match up the lines.


3. Cut angles. Measure and mark the middle points. 4.75" from the top edges on the wider section. 3.25" from the top edges on the more narrow section. Mark 1.25" above the corners of the top and bottom pieces (the wider pieces). Mark 1" from the corner of the side pieces (the longer and more narrow pieces).


4. Cut belt slits. I spaced them 1.5" from the side edges and kept slits for each look 1.25" wide. I also made them 2" long to be able to fit a normal sizes belt since i dont have any wide belts.
5. Fasten the snaps. You will need to overlap the sides and then place the bottom flap on top to secure the snap on all 3 pieces together. Once this is done, fold over the top flap and align it to the snap on the bottom to find the proper place to secure the snap on the top.

Loop through your belt and enjoy your new bag! It holds a wallet, phone and reusable bag perfectly.

Links to Amazon products:
I am a participant in the Amazon Services LLC Associates Program which is an affiliate advertising program designed for sites to earn money by advertising and linking to amazon.com products. I do not advertise items that I don't believe in or use myself. By purchasing one of these items through the links above you would be sharing a portion of the sale with me and at no extra cost to you.


Comments